

As I probably have mentioned in the past, the primary toys that my brother, Larry, and I played with when we were growing up were our Matchbox ® cars and trucks, JI Joe® action figures and our farm toys. Sure, we had games, plastic model kits and all of the sports gear that most kids had in the 1960s. However, since we spent quite a bit of time on our relatives’ farms, we sort of migrated toward the farm toys most of the time. And for our friends, who never really got to work on or around a farm, all of the toy machines we had were really cool. Over the years, we collected enough tractors and equipment to have just about everything we needed to farm in miniature. Sure, we had pieces of Allis-Chalmers, International Harvester, John Deere and Tru-Scale, but at least we had everything we needed. That is, except for buildings, fences and animals.
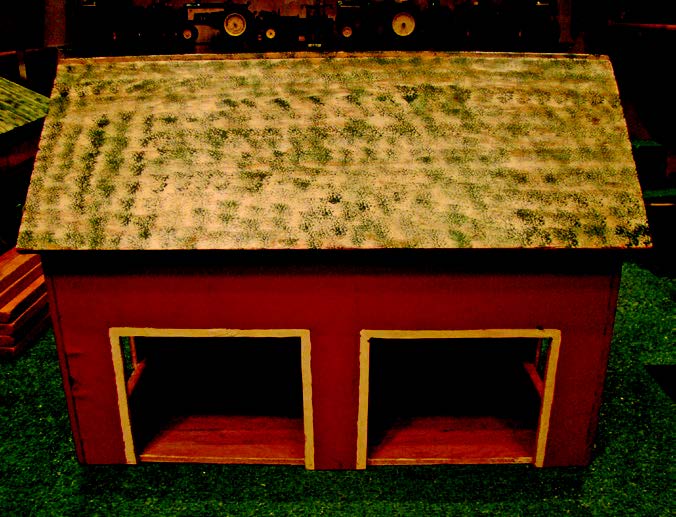
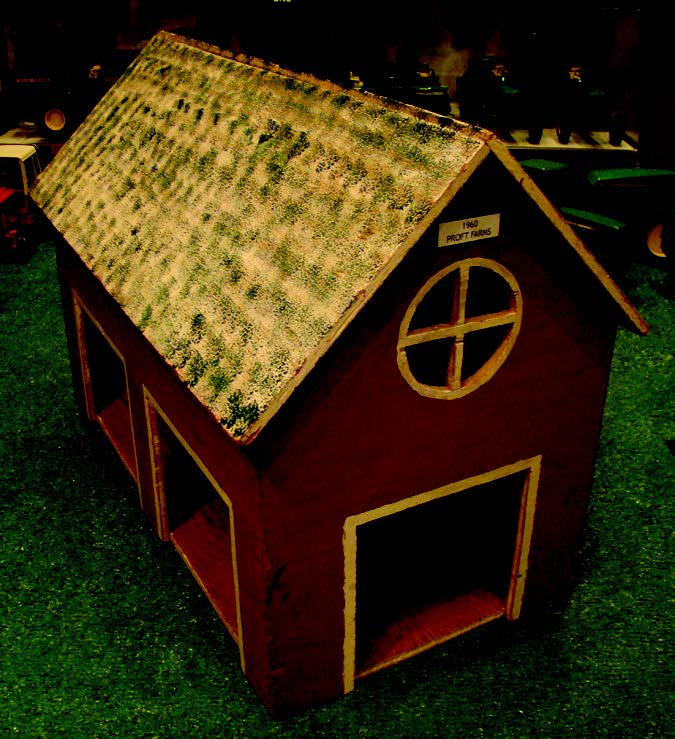
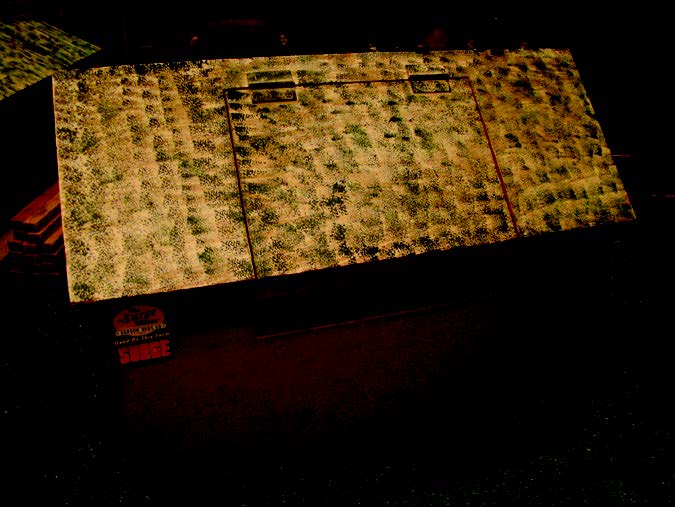
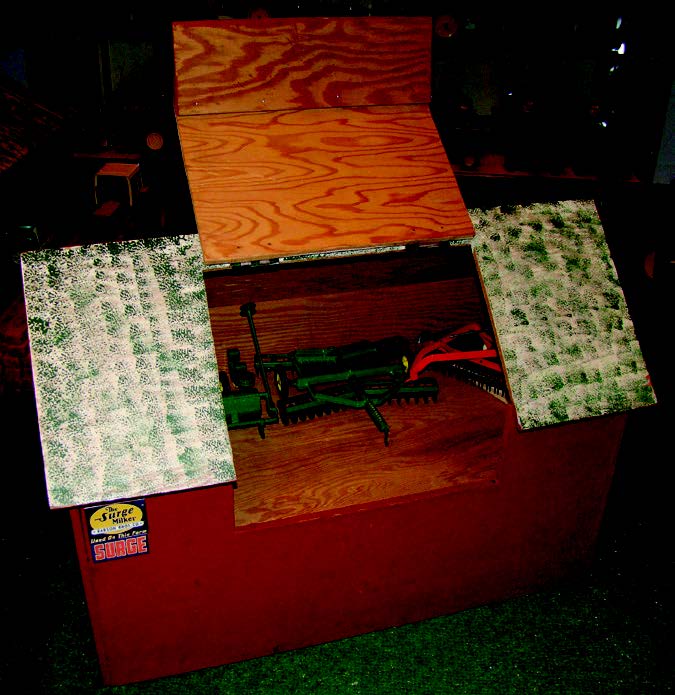
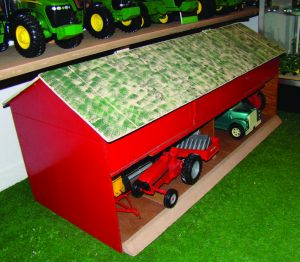
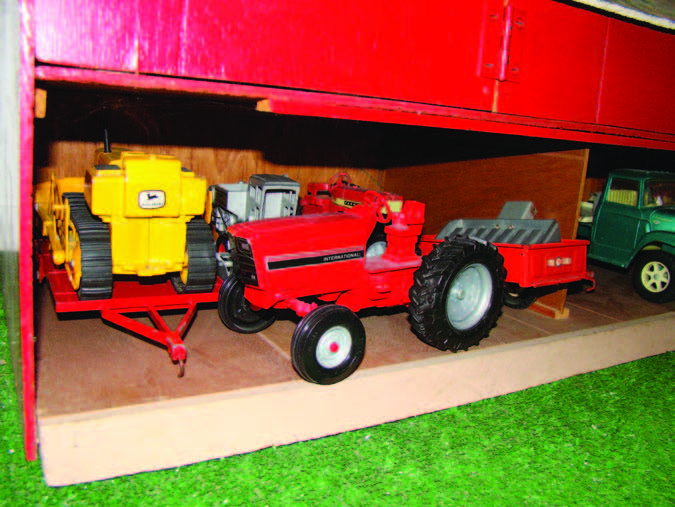
At some point during the 1960s, one of our older cousins actually built a barn for us. He was fairly good at carpentry and in doing mechanical things in general. Photo 1 shows what I consider to be the rear of the barn. Note that there are two doorways which could be used for toy animals to get through. In addition, they are large enough for tractors without cabs to drive through. In Photo 2, you can see another door on the end of the barn along with a circular window near the roof line. The opposite end is identical. So, it is relatively easy to drive a tractor and manure spreader straight through when cleaning the barn. I think that the best feature is the upper portion of the barn. In Photo 3, you can see that a section of the center of the roof is cut out and has hinges. This allows access to what we called the “hay loft” (Photo 4).
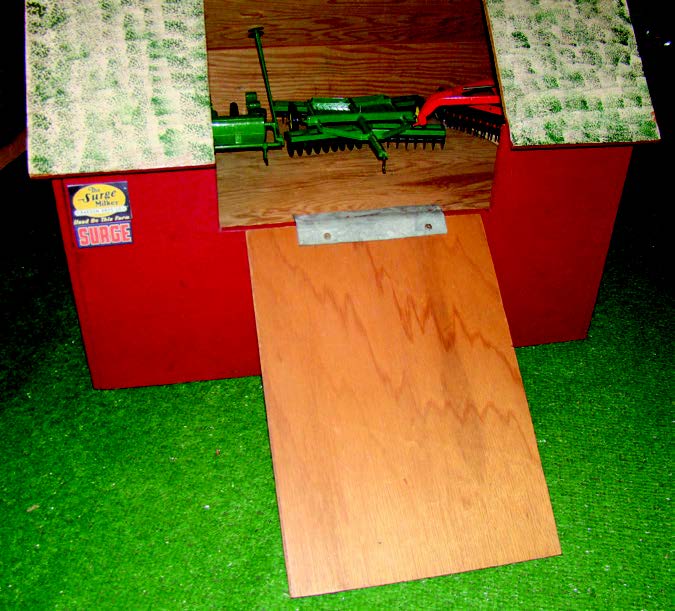
My brother and I spent many hours packing tiny hay bales up in the hay loft of this barn. We used our Tru- Scale belted elevator to carry them up and then packed them in the loft much like we did for many summers on the farm. As you can see, this was also a great place to store some of our tractors and equipment when we were finished playing. Of course, the barn wouldn’t be complete without a barn fill or ramp to be able to drive machines up into the loft. Ours is shown in Photo 5. This is simply a piece of thin plywood with a bent piece of sheet metal riveted to one end. It is somewhat crude, but it served the purpose well.
The barn in overall dimensions is approximately 13 inches wide by 26 inches long by 18 inches high at the peak of the roof. The doors are approximately 7 inches square and the door in the roof is roughly 12 inches wide. Also, 5/16ths inch plywood was used exclusively and everything is held together with small nails and wood glue. The exterior was hand painted red with white trim around the doors and windows. The roof was painted white and then was “dabbed” with green paint to represent shingles. I was always happy that it pretty much resembled the real barn on my grandfather’s farm.
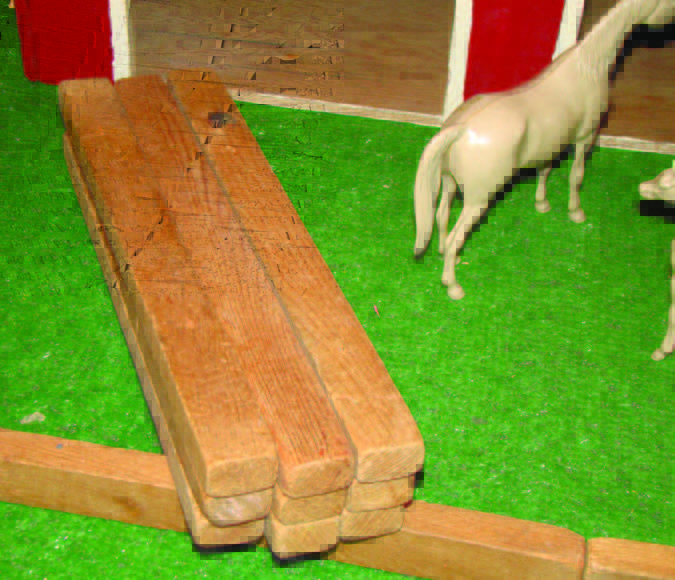
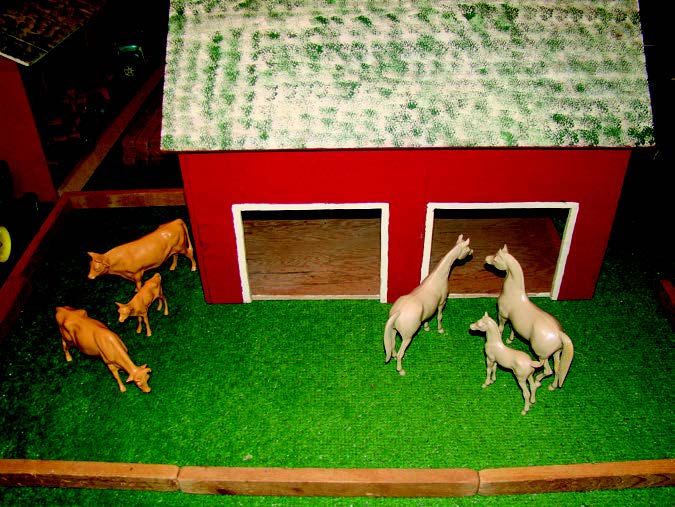
At some point, we started getting some plastic animals for our toy farm. Initially they were made of a rubber material and we had chickens, ducks, pigs and cows, but all of them were the wrong scale. They were simply too small for our tractors and machines. Later, I received a few animals that appear to be closer to 1/16th scale. Included were a bull, cow, calf, stallion, mare and colt (Photo 6). All of these are made of a relatively hard plastic and I have often wondered how they survived all of these years without breaking. Also in Photo 6, you can see what we used for fencing. These are solid pieces of wood measuring ¾ inch by 1-1/8 inches by 14 inches long. I have no clue where these pieces came from, but they worked great for fences. Sure, they are way too short, but that’s where the imagination had to come in. The best part was the ease of setting up and rearranging the pieces to construct whatever kind of farm yard we wanted. Photo 7 provides a close-up of the fencing material.
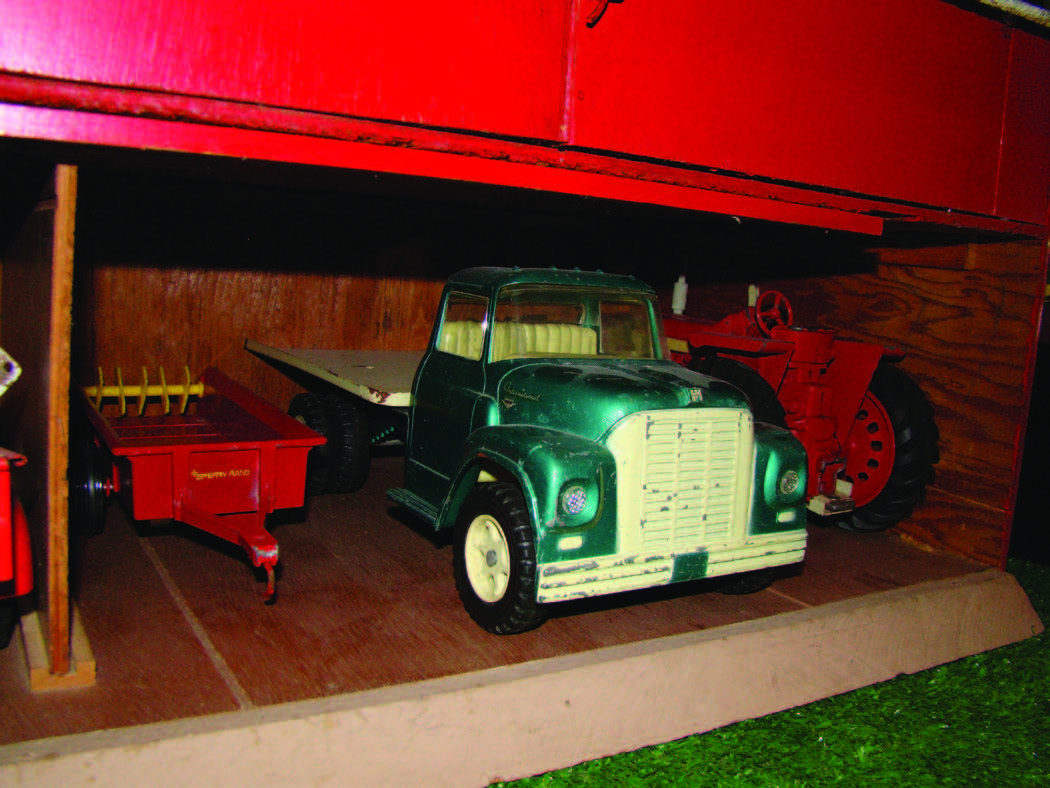
A year or two after we got the barn, it was decided that we also needed a machine shed. We were used to seeing an old wooden building on the home farm that had a granary for oats “upstairs.” Our cousin built a machine shed for us that followed the same basic scheme (Photo 8). The lower level is completely open across the front. Doors would have been difficult to make and certainly would have hampered driving equipment in and out. There is a partition in the center to help support the upper level. Photos 9 and 10 show the left and right sides respectively with some of my old farm toys stored inside. The open lower level makes it very easy to arrange equipment in any fashion and we spent lots of time trying to figure out how to get everything in to protect it from the “weather.”
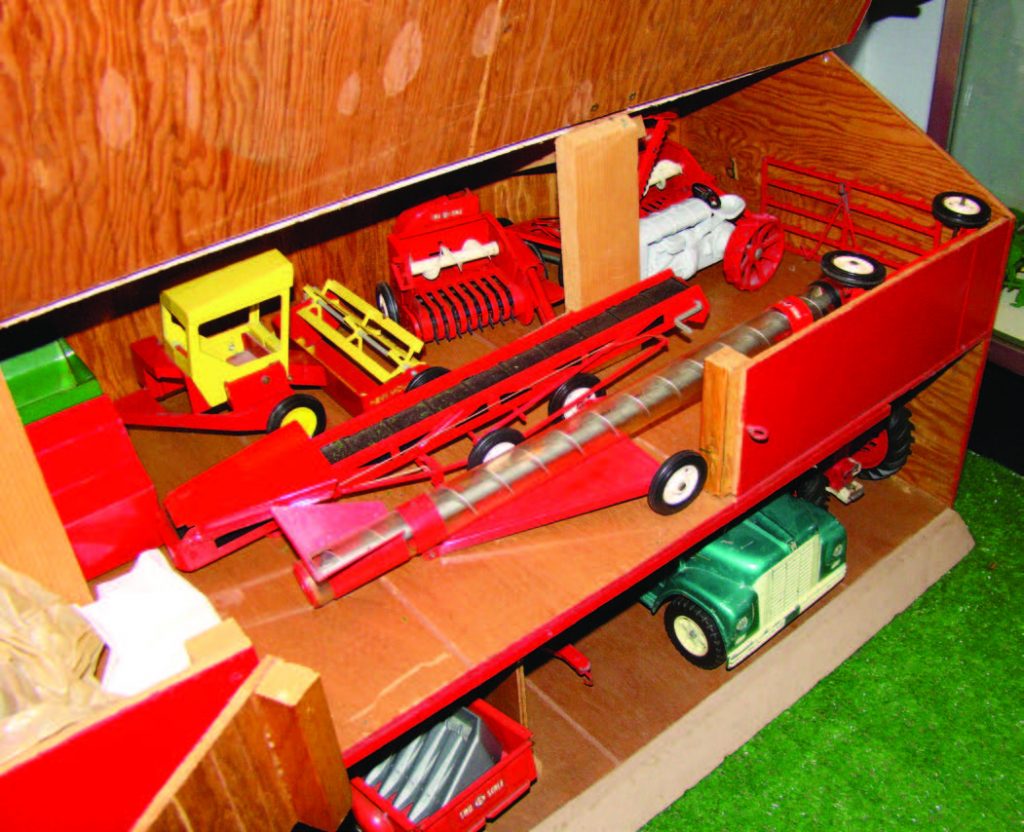
The upper area of the machine shed is shown in Photo 11. Note that the entire front half of the roof is hinged and can be swung open for easy access. In addition, there is a small, vertically hinged door in the center of the upper front wall. This allowed us to use the barn ramp to drive equipment up into the granary as well. As you can see in Photo 11, longer pieces of equipment such as elevators, and shorter pieces like wagons, fit really well in this space. If you look closely, you can also see a New Holland swather, a spike-tooth drag, an old Fordson tractor and two Tru- Scale forage harvesters. The discharge spouts on the harvesters always have to be removed in order to fit in the relatively short space.
The machine shed measures approximately 36 inches long by 14 inches wide by 15 inches high at the peak of the roof. Unlike the barn, all of the wood is 3/16ths inch paneling material. Again, small nails and wood glue were used to hold it together. The paint scheme is the same as that on the barn. A slightly brighter shade of red was used, but it looks good. Let’s just say it’s brighter because it’s newer.
So, you’re probably wondering why I decided to cover these items in this month’s article. There are a few reasons. First, all of them are old and fit right in with the 1960-1990 format of this magazine. Second, I figured some of you might like to see a couple of examples of simple and easy to make buildings. Perhaps you have always wanted some for your collection and maybe these provide some ideas. Third, I firmly believe that it is important for all of us to introduce younger folks to the farm toy collecting hobby. Consider purchasing farm toys in whatever scale and brand you prefer and then work with your children and grand- Photo 10 Photo 11, right children to produce your own buildings and farm layouts. The memories you create will be wonderful and the kids will likely remember them for a long time. Small family farms are quickly disappearing, so collecting and playing with farm toys may help to preserve some of the past. Enjoy.
As a reminder, the 42nd annual National Farm Toy Show takes place in Dyersville, Iowa on Friday, Saturday and Sunday, November 1, 2 and 3. If you have never attended, or it has been a while, try to make it to this event. Since it’s that time of year once again, have a happy Thanksgiving, merry Christmas and a Happy New Year.

